In part 1 of this four part series, I showed you how the prototyping work to develop an HTML5 Christmas game called StackHack, began with a paper prototyping phase. In part 2, I showed how the paper prototype transitions to a digital prototype. In this part I’ll show how the initial digital prototype can be further developed.
Once you have played around with the initial digital prototype for a while, and ideally got some other people to play with it as well and give you their feedback, you should be in a position to decide whether to progress with the concept or not. If you decide not, then it’s time to archive the project materials and move on to something new.
If you do decide to proceed, then the next stage is to start adding more of the elements from your original design to the game. Again, it’s important to remember that you are not trying to create a finished game at this point – this is still very much a prototyping stage, so don’t accelerate into a full-on production. Instead you should prioritise the remaining features of your concept and introduce them to your prototype one at a time.
After you’ve introduced each feature, play with the prototype for a while and ask other people to play it and give you feedback. Ideally you’ll use a mixture of people who have played earlier versions of the prototype and people who are completely new to the game, as you will get a slightly different perspective from each of these groups.
Spend some time tweaking each new feature as you add it, before you move on to the next one.
You can play a later prototype of StackHack. Once again, you will need an up-to-date browser on a device with a keyboard. The controls are:
- Move left: left arrow key
- Move right: right arrow key
- Jump: up arrow key
- Pick up/drop a present: space

The first thing you’ll notice that’s changed is that I’ve introduced a level selection mechanism. Having the ability to play different levels at this stage allows me to focus each level on a different feature of the game.
One thing to note is that the level selection screen, like the game, uses ugly, unstyled HTML. Again, this is a conscious decision – I don’t want play testers distracted by graphics on the level selection screen – it should be purely functional at this point.
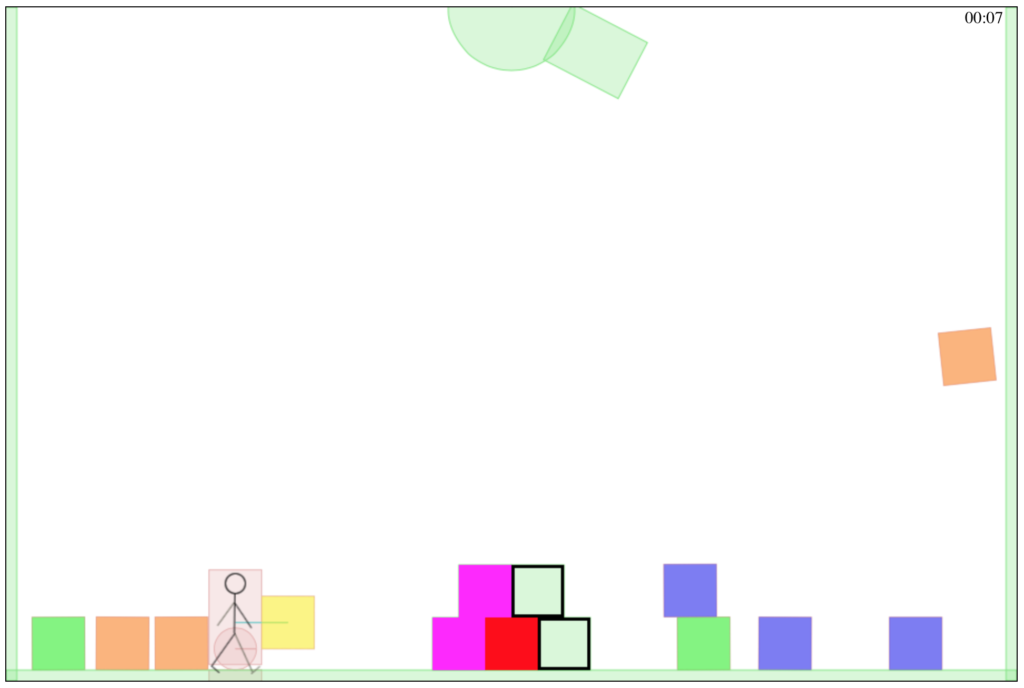
The first new feature I added to this prototype was the cannon that fires out the presents. You can see this at the top-centre of the image. The orange present half-way down the right side of the screen has just been fired out. One thing you should notice when you play the prototype is that the cannon doesn’t move smoothly between its firing positions, it goes directly to each one. Although it would look nicer to have the cannon moving smoothly, it is not central to the game play, so it’s not something that should be included in the prototype.
The next thing I added was a timer. You can see the remaining time shown in the top-right corner of the screen. Again, the timer uses plain, unstyled HTML text.
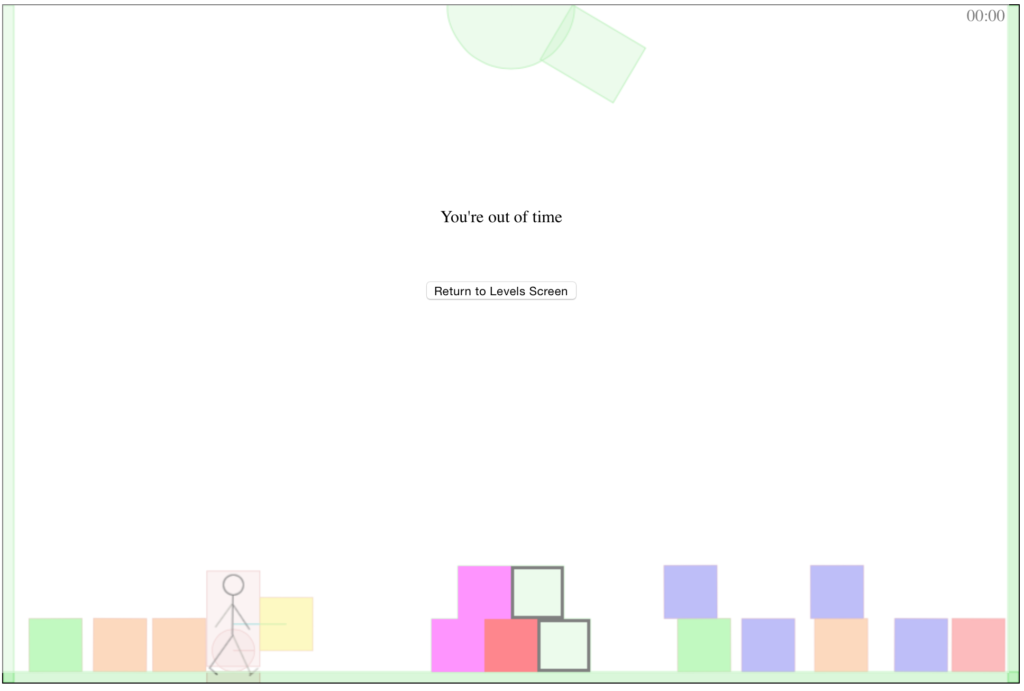
There’s also a mechanism to end the game and return to the levels screen when the timer reaches zero.
The third feature to be added was to have different types of presents. Again note how I’m denoting these with simple colours at this stage rather than fancy graphics. Hand-in-hand with this was introducing guides that only accept certain types of present. In the image above, the guide with the black outline will accept presents of any colour while the other guides will only accept presents of a matching colour.
And, of course, I also needed to update the check for when a level is completed successfully so that it also enabled a return to the levels screen.
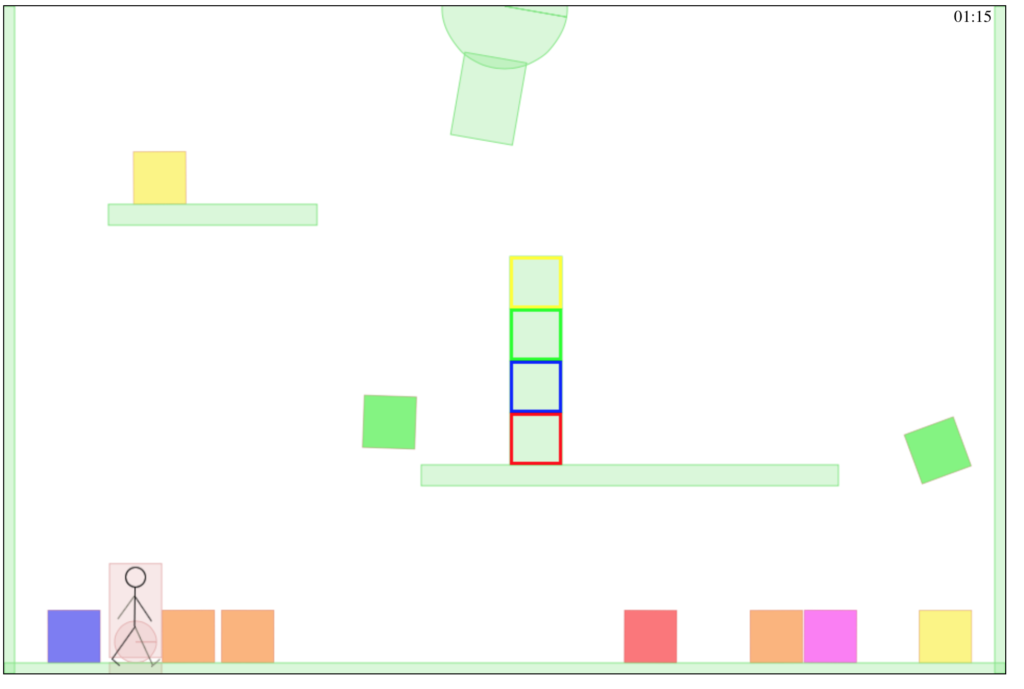
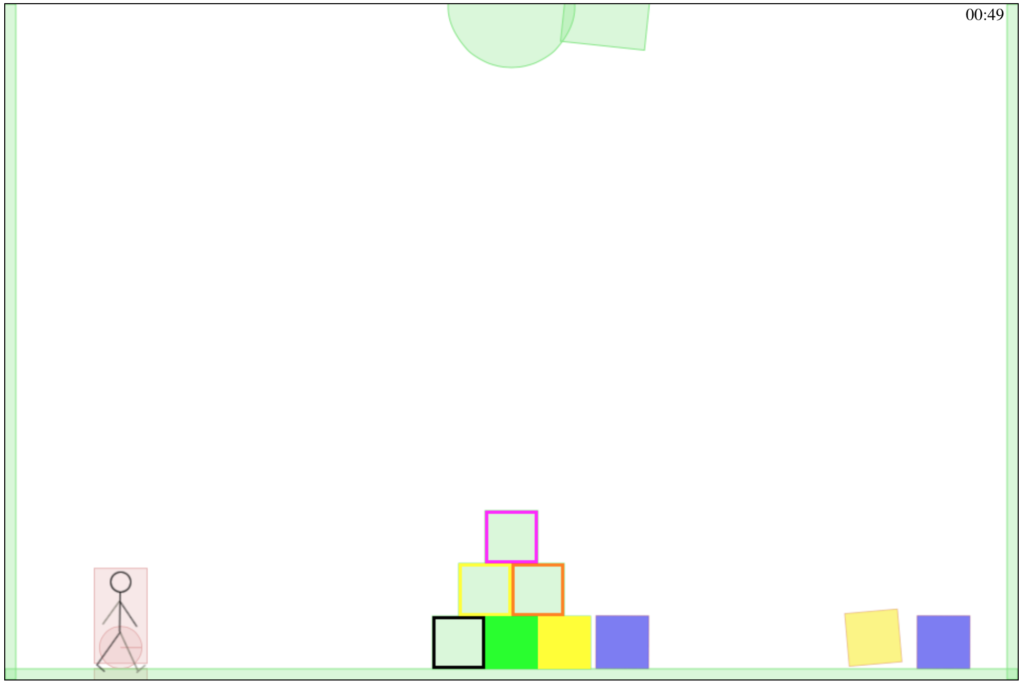
Another feature from the original concept that was added in this prototype was the ability to have platforms on certain levels. Note that in this level the guides are placed on one of the platforms, forcing the player to stack presents to create a temporary mid-level platform. Once again, note that the platforms are rendered using only the debug graphics capability of Box2DWeb.
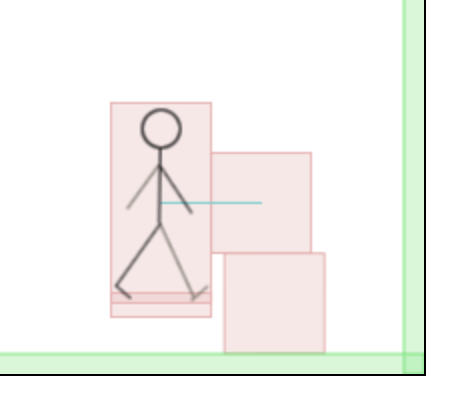

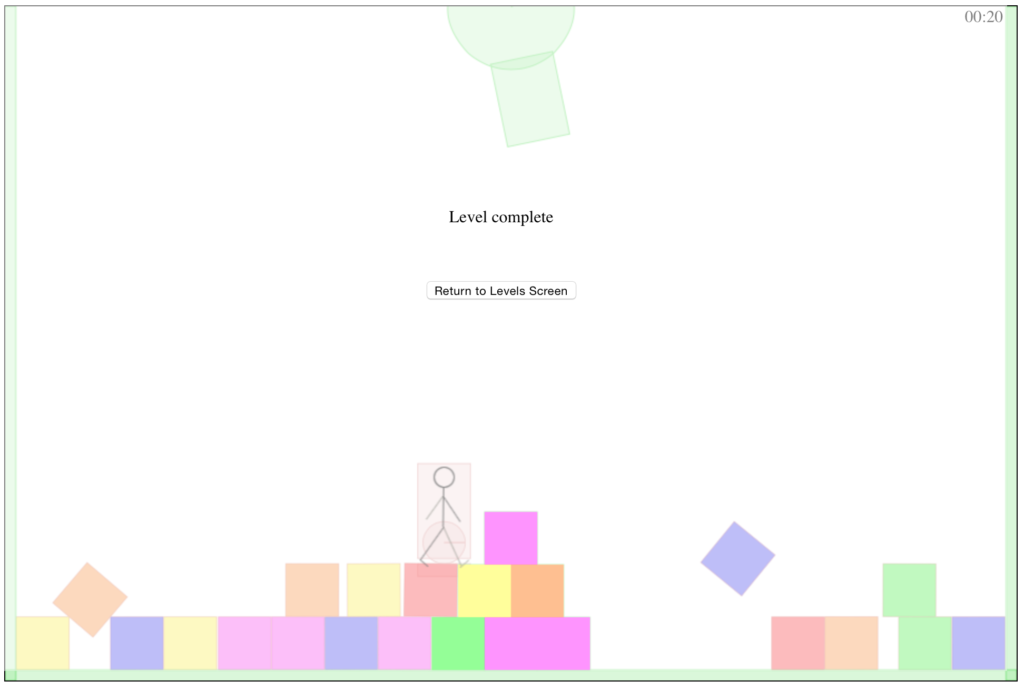
As well as introducing additional features at this stage, you’ll also want to tweak earlier mechanics based on the outcome of your previous prototypes. The first image above is from my first digital prototype and shows that, when presents were carried in this version, they were held rigidly in front of the player character. A side effect of this is that the rigidly held present can end up balanced on top of another present, leaving the player character hanging in mid-air, as shown in the image. To fix this, the code for the subsequent prototype was changed to allow the held present to rotate a little. Now, when the held present lands on top of another present, the player character’s weight will pull them down, the held present will rotate upwards and both objects will slide off the other present.
At this stage of the process you’ll want to play test your prototype thoroughly to decide whether this is something that is worth taking to a production stage or if it should be scrapped. Even if you do decide to move forward, you’ll probably want to remove features that aren’t working so well, add others to fill perceived gaps in the experience and tweak those you are keeping so they work as well as they can.
Your criteria for deciding whether to move forward or not will depend on what’s at stake. If you are trying to create a commercial-quality game that is intended to be a source of revenue, then your main criterion is probably going to be “is this something that I think people will be prepared to part with their hard-earned cash for?”. If, like StackHack, the game is more of a personal project, then your criteria might be questions like, “do I think this will provide my family, friends and colleagues a few minutes of amusement?” and “is this a project that is interesting for me to work on and stretches my skills?”.
If you do decide to move on, now is the time to make the transition to production code, and I’ll cover that in the final part of this series.
Be First to Comment