This is the first in a series of development diaries about programming simple browser-based games in HTML. You can see an index of all the posts in this series: go to index.
This series is called HTML games programming from the ground up because I start with very simple projects and gradually introduce more complexity. These are the development tools I’m using:
Before I begin, I’ll need somewhere to store the games I create. I created a top-level folder called HTML games programming from the ground up. The first game I’m going to create is a simple quiz. So, within your top level folder, I created another folder called quiz.
HTML files are just plain text files. Let me create one. I opened my text editor and created a new file called index.html and saved this in the folder I’d just created. Let me start by creating the content of my quiz. I want a headline, an introduction and my first question. In my text file I entered the following:
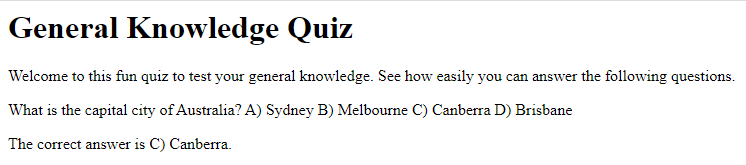
General Knowledge Quiz

Welcome to this fun quiz to test your general knowledge. See how easily you can answer the following questions.

What is the capital city of Australia?
A) Sydney
B) Melbourne
C) Canberra
D) Brisbane

The correct answer is C) Canberra.
I saved the file to see what it looks like in a browser. There are a few different ways of getting my file into the browser.
- Probably the easiest is to find the index.html file in my file system and double click it. This will open it in the default browser, or
- Open my browser and try dragging the file onto the browser window, or
- Open my browser and use its Open File command (On Chrome, for example, I activate this with CTRL + O), or
- Some text editors have a feature that enables me to open the file I am editing in a browser
Once I had the file open I was a little disappointed to see this:

Everything I entered in my file is there, but it’s all scrunched together. What’s going on?
Well the ML bit of HTML stands for Markup Language. A markup language is a way of “marking up” text documents to provide instructions for their presentation and/or to give them a semantic structure. What do I mean by that?
Any literate person looking at that document, even if they played no part in it’s creation, is likely to make some assumptions about it from its structure. There’s a short line on its own at the very top of the document – that’s probably a title or heading of some sort. Underneath that is a paragraph and then there’s some text that’s been grouped together as a list, and so on. Even if you didn’t speak English, you could probably deduce quite a lot just from the structure of the document.
Unfortunately my browser isn’t sophisticated enough to make those sorts of intuitive deductions. At least not yet. In 20 years time perhaps AI-driven browsers might make exactly that sort of deduction. But for now, I have to give it some help.
I do that by dividing the text into elements and using tags to let the browser know what sort of element each section is. Take my first paragraph under the title, for example. I can let the browser know this is a paragraph by tagging it as a paragraph element. I’ve changed that line so it looks like this:
<p>Welcome to this fun quiz to test your general knowledge. See how easily you can answer the following questions.</p>
Note that I’ve put a tag at either end of the paragraph. The <p> at the beginning is the opening tag and the </p> at the end is the closing tag. Note that the only difference is the closing tag has a forward slash / before the letter p.
I saved the file and, because I’ve made changes, I need to either reload the page in the browser, or in this case, because it was still open, refresh the page. To do this on Chrome, I press F5.

That looks better already – now the browser understands that bit of text is to be displayed as a paragraph in its own right. And notice that the <p> and </p> tags are not displayed. The browser knows those are just for its information only.
I can do the same thing to turn the final line (the one with the answer), into a paragraph element.
What about my title? Should I use a paragraph element for that? Well I could, but it’s not really a normal paragraph – it’s a heading. Fortunately HTML also has heading elements. I changed the first line so it looks like this:
<h1>General Knowledge Quiz</h1>
Now when I save the file and refresh the page in the browser, I see this:
Notice how your text now has the sort of gravitas you expect of a title. You might be wondering why I used a number in that tag. If a paragraph tag uses p, why doesn’t a heading tag just use h? Well it’s because HTML provides six different levels of heading, so I can use h1, h2, h3, h4, h5, or h6 to add different levels to my document. If can try it now, for example changing the h1 to h6 in both the opening and the closing tags. When I refresh the page I see this:

Hmm, my title is no longer getting the respect it deserves! I’ll change it back to h1 (remembering I need to change both the opening and the closing tag).
OK let me deal with my question and answer options now. For the question, I can just use another p element. For our answers, I could just make each one into a p element, but if you think about it, they are really four parts of one element – a list. And yes, HTML also has a list element. I changed my code to look like this:
<h1>General Knowledge Quiz</h1>

<p>Welcome to this fun quiz to test your general knowledge. See how easily you can answer the following questions.</p>

<p>What is the capital city of Australia?</p>
<ol>
  <li>A) Sydney</li>
  <li>B) Melbourne</li>
  <li>C) Canberra</li>
  <li>D) Brisbane</li>
</ol>

<p>The correct answer is C) Canberra.</p>
My list element is defined by the <ol> … </ol> tags. ol is short for ordered list, and you’ll see what that means in a moment. But you can see I seem to have other tags inside that. The <li> … </li> tags define each item in my list, in fact li is short for list item. So you can see from this that some HTML elements can be nested inside others. Let’s see what this looks like:
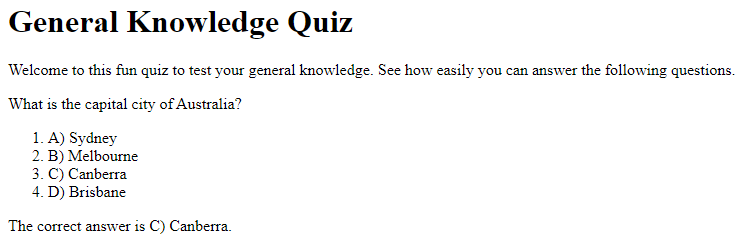
So the good thing is that my list is now nicely displayed as an indented list. But I now appear to have numbers as well as letters for each item. The reason I’m seeing the numbers is that I created an ordered list. I could have also created an unordered list using <ul> … </ul> and that would have used bullet points rather than numbers. Well there’s no point in having both numbers and letters, so for each of my list items, I’ll delete the letter.
But maybe I preferred the letters to the numbers? Well, if its letters I want, it’s letters I shall have. I changed my list to look like this:
<ol type="A">
  <li>Sydney</li>
  <li>Melbourne</li>
  <li>Canberra</li>
  <li>Brisbane</li>
</ol>
When I save and refresh the page, I see this:
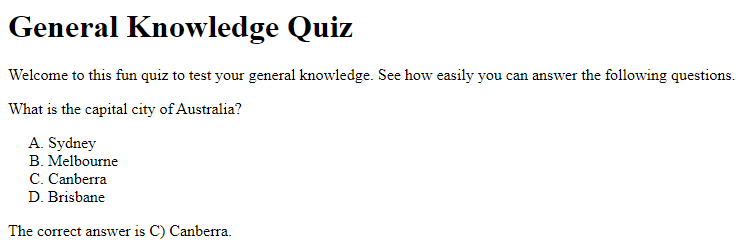
That’s closer to what I had originally. I did this by adding something called an attribute to the opening ol tag. Attributes change the behaviour of the element. The type attribute sets the type of list that will be created. By using type=”A” I told the browser I wanted a list ordered with capital letters. I could also have used:
- type=”1″ for numbers (although browsers will default to this choice if type is not present)
- type=”a” for lower case letters
- type=”I” for upper case roman numerals
- type=’i’ for lower case roman numerals
So now I’ve created my first simple web page using just four types of HTML element and one attribute. There are over 100 HTML elements, many of them with several attributes and I’ll be using many of them in future parts of this series.
But hold up – I’m not done yet. Although my page appears to work fine, it’s not quite complete. Current browsers are very tolerant of bad HTML. Generally they will helpfully render whatever they can and ignore anything they can’t without making a fuss. However, if I’m going to do a thing at all, let me do it properly. So how do I turn my errant HTML file into a fine upstanding web citizen?
Well the first thing I need to do is let the browser know that what it’s got here is actually an HTML document, and that it’s an HTML 5 document rather than an earlier version like HTML 4.1. I do this with something called a document type declaration. I added this line to the very top of my file:
<!DOCTYPE html>
Note that although document type declarations look a little bit like an opening tag, they serve a different purpose. They should always be the first line of my HTML file so that a browser or other agent knows how to interpret the file.
Next HTML files have a single top level element called html. So, other than my document type declaration, all the lines in my file should be within this element.
The html element should always have just two elements inside it, and always in the same order: head and body. The body element contains all the html elements that describe the actual content of the page – the bit the user sees. The head element contains various elements that describe the page. One that I should always use, is title. This is how the page will be referred to, in search engine listings for example. That’s a lot to take in, so let me see what all that looks like when I put it together:
<!DOCTYPE html>
<html lang="en" dir="ltr">
  <head>
    <meta charset="utf-8">
    <title>General Knowledge Quiz</title>
  </head>
  <body>
    <h1>General Knowledge Quiz</h1>
    <p>Welcome to this fun quiz to test your general knowledge. See how easily you can answer the following questions.</p>
    <p>What is the capital city of Australia?</p>
    <ol type="A">
      <li>Sydney</li>
      <li>Melbourne</li>
      <li>Canberra</li>
      <li>Brisbane</li>
    </ol>
    <p>The correct answer is C. Canberra.</p>
  </body>
</html>
The first thing you should be able to spot about this is that all the HTML I originally wrote is still there, but it’s now inside the body element. The second thing you might already have noticed is that each line of the file is indented to a greater or lesser degree. This is not required, but I do this to make my HTML files easier to read. Basically, each time I open a new element I should add a further indent level for all the elements inside it. When I close it, I should go back to the previous level of indentation. You can see this with the ordered list – all the li elements are indented further than the ol element, but when we reach the closing </ol> tag, I go back to the previous level of indentation.
Above the body element, you can see the head element. This has the title element I mentioned. It also has another element, meta. The meta element is used to hold meta information about this page. Meta information is simply information that describes other information, or data that describes other data. Perhaps you’ve already noticed something odd about this tag. Firstly it doesn’t surround any text and secondly, it doesn’t have a closing tag.
There are some html tags that don’t contain any content. They are known as self-closing tags, because they don’t need a separate closing tag. The meta tag is one of these. They can, however have attributes. The charset attribute in the meta tag is simply telling the browser that this HTML page uses a character set called utf-8. This is the most commonly used character set and it uses the Unicode standard. I’m not going to concern you with the technicalities of Unicode (look it up if you are interested), but simply know that using this tag will help browsers render my page correctly.
The final new thing here is the html element that encloses everything other than the document type declaration. You can see this element also has a couple of attributes. The first of these, lang, tells the browser that this page is written in English (denoted by “en”). The second dir, tells the browser that this page is intended to be read from left to right (denoted by “ltr”). Some languages are read from right to left, so the browser needs to know which direction to flow the text in.
When I save the file and refresh the page in my browser, I can see no visible difference but can rest easy knowing that my page now meets the standard for HTML 5.
You’ve probably noticed one area where my page could do with improvement though. At the moment the reader is given the answer before they’ve had even a moment to reflect upon the question. That’s something I’ll solve in the next post in this series.
Be First to Comment