In the previous three parts of this series I showed how to develop a concept with a paper prototype, how to transition to the first digital prototype, and how to further develop and enhance that prototype. In this final part, I’ll discuss making the transition to production code and assets.
If you’ve taken your prototyping to the point that you’re happy that you have a project you want to progress with, then it’s time to make the leap from your prototyping code to your production code.
A decision you have to make now is whether there is any part of your prototype that could be repurposed for your production version. There are a number of factors that are going to affect this decision. Clearly if you’ve chosen to build your prototype on a different platform, or using a different technology from the one you intend to use for your target system then you have no choice but to start from scratch.
If, as is the case with StackHack, your target platform and technology is the same as your prototyping platform and technology then you might be able to salvage something. There are three important considerations here:
- Don’t be concerned about throwing your prototype code away – that was always going to be a possibility
- You should never code your prototype with reusability in mind – quick and dirty are the watchwords here
- Only repurpose prototype code if it’s going to be quicker and more productive to do that than to start from scratch
Having said all that, there is no point in throwing the baby out with the bathwater, so if there is stuff that is robust enough to reuse and which will save you some production effort and time then go ahead and use it.
That was certainly the case with StackHack, I was able to create my production code by refactoring a lot of the prototype code, which was a quicker process than starting from scratch.
You can play the version with production code. In case you have not read any of the earlier posts, please note you will need an up-to-date browser on a device with a keyboard. The controls are:
- Move left: left arrow
- Move right: right arrow
- Jump: up arrow
- Pick up/drop a present: space
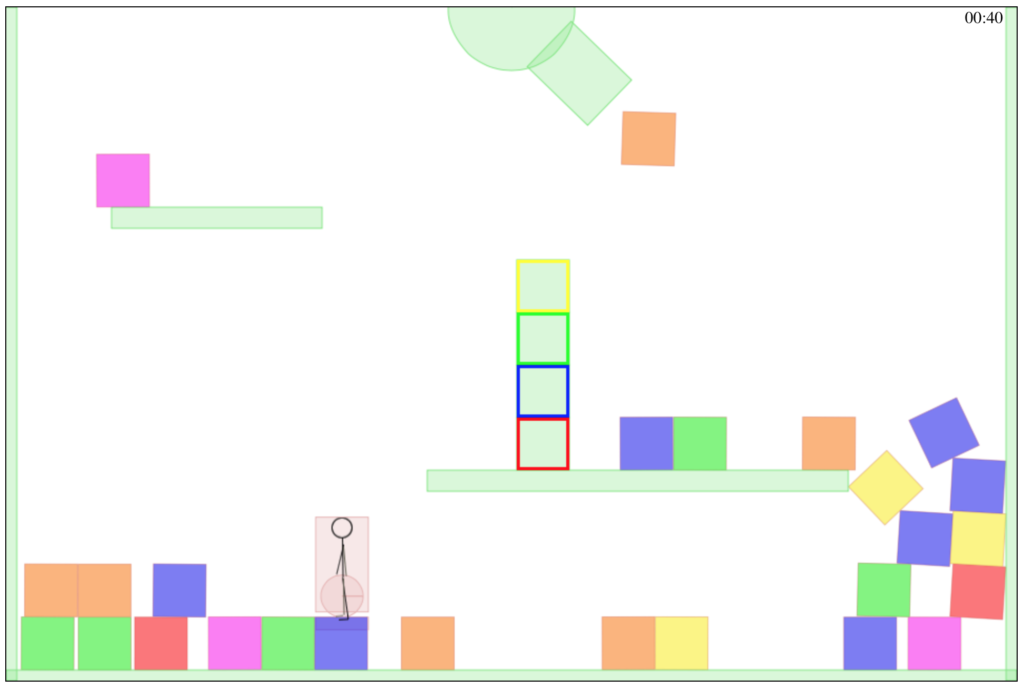
Ostensibly, this version looks very similar to the second prototype, but of course a lot of the work (refactoring and re-creating code) has gone on behind the scenes.
The other thing you are going to want to do at this stage, is add the aspects of the game that are not fundamental parts of the gameplay, but add polish. One of the first elements I added was an animation system for the main character. Rather than have a static character, the player character now shows the relevant frame from an extended sprite sheet, as shown below.

Note that I am still using what are often euphemistically described as “programmer graphics”. The point at which it is worthwhile starting work on production-quality art, whether it’s to be created by you or somebody else, is once all your animation code is in place and is working well.
The other thing you should note about this sprite sheet is that the character is only ever facing in one direction. Flipping a character sprite about its vertical access is something that can so easily be done in code, so it’s rarely worth the effort of adding these additional frames to your sprite sheet.
The other thing you’ll notice about this version is that the cannon is now animating smoothly between its firing positions.
With all the main game mechanics completed, the next stage is to start work on art, audio and level development. You can play a version of the game with production assets. Controls are the same as those listed above.
The first thing you’ll notice about this version, is that, rather than throw you straight into the game as the earlier version did, it includes niceties like instructions and artwork:
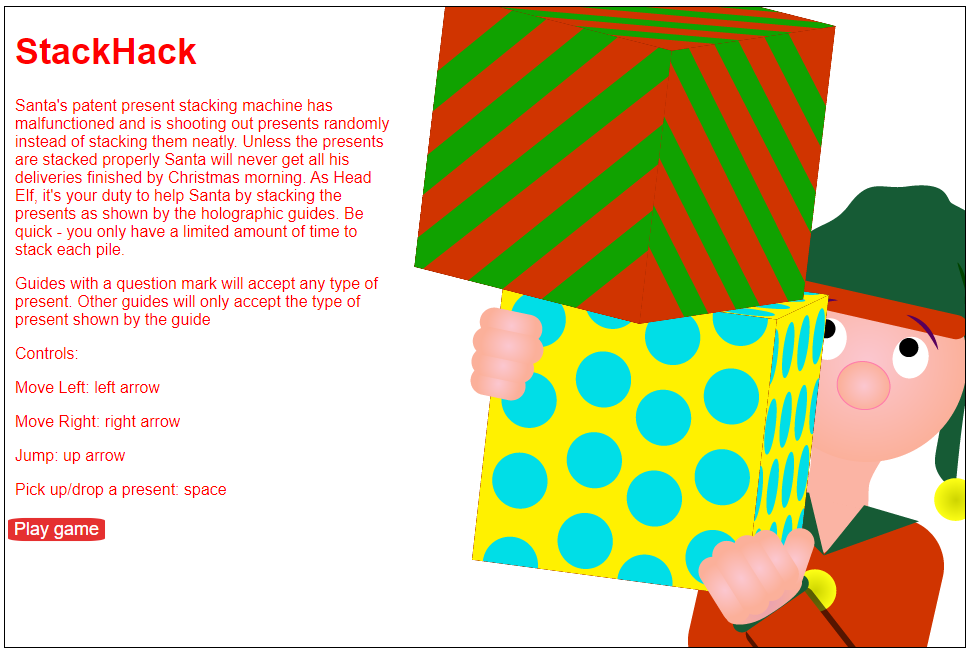
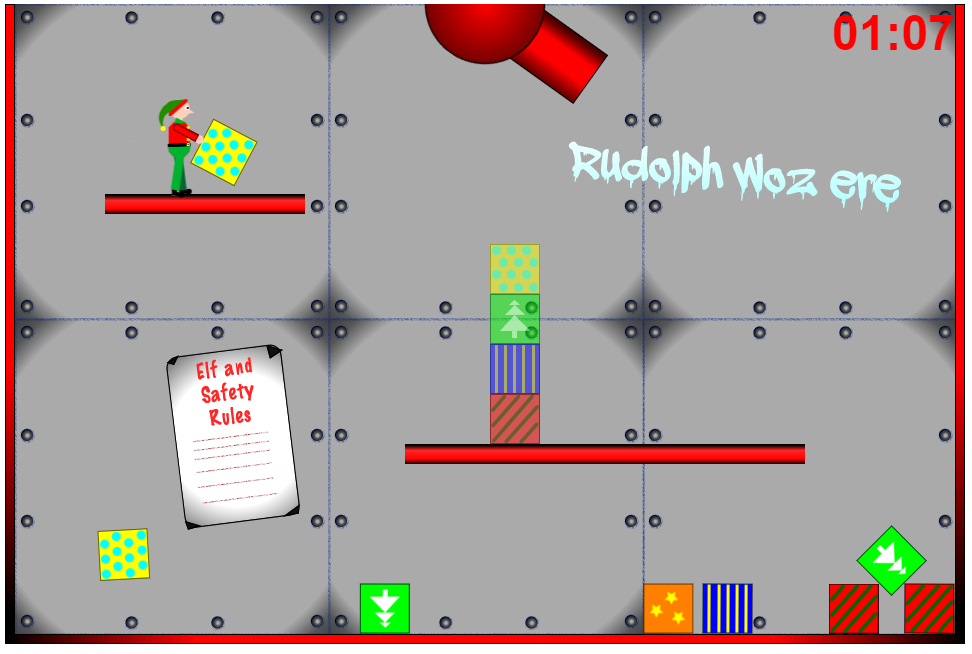
You can see that the game itself now has background artwork, and the cannon, player character, platforms and presents now have more attractive art. You can also see that items like the timer, which were plain text in the previous versions, have now been appropriately styled.
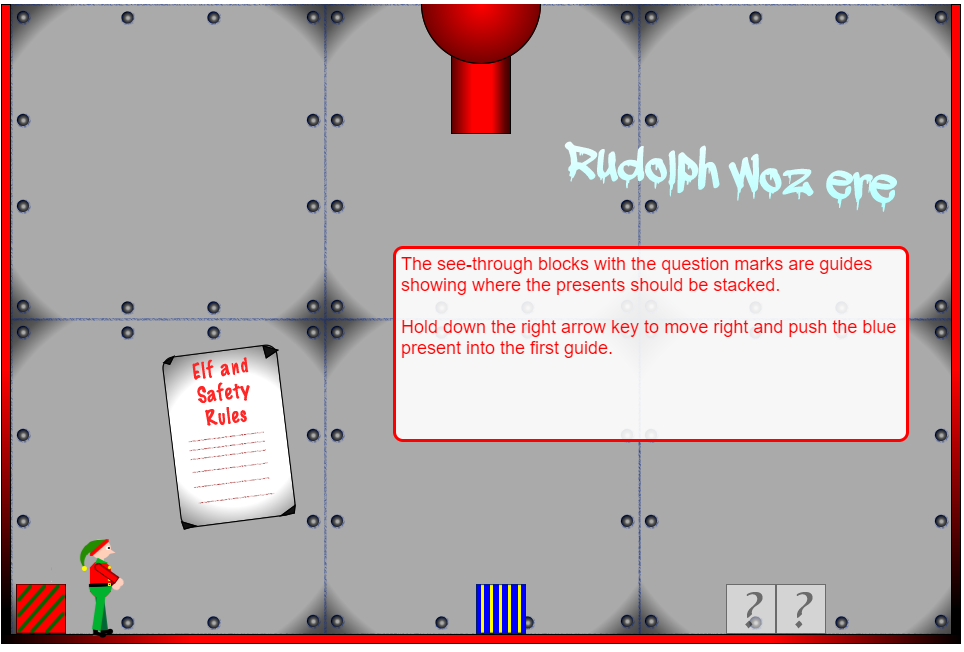
When you’re happy with how the core gameplay is working, you’ll want to turn your attention to the ancillary features, such as the menus, user interface and help or tutorial systems. You might have noticed that the first few levels in this version, feature a context sensitive tutorial system.
The key takeaway from this is that, thanks to following a discipline of applying several prototype stages, by the time you get to these labour intensive parts of the production process, you can be confident that the underlying game is good and the effort is warranted.
Of course, as game ideas go, StackHack is half-baked at best and in reality it might well have been discarded or further refined before reaching this point, but I hope following the game through these stages has given you some insight and some inspiration to develop a prototyping process for your own games.
Be First to Comment