This post is the third in a series in which I attempt to build experiments from Charles Platt’s excellent introductory electronics book Make: Electronics.
You can find an index of all the posts in this series here: Electronics Index.
This post is all about home made batteries. According to the book, you may already have the components for a home-made battery somewhere in your home.
To make a battery we need two electrodes of different materials and we need some form of electrolyte.
One of our electrodes is going to be a standard copper-plated coin. One word of caution though, what tends to happen with coins is that copper reacts with the oxygen in the atmosphere and forms a layer of copper oxide on the surface of the coin and that is what causes them to change from their bright and shiny initial form to a dull, brown colour. To get them back to that shiny state you can bathe them in a solution of white vinegar and salt. That will restore the surface to pure copper and your homemade battery will work better if you do this.
For the other electrode I used a steel bracket – not a stainless steel bracket but a galvanised steel bracket. Galvanised steel has been coated with a layer of zinc and it’s actually the zinc that will form a reaction with the copper and the electrolyte in the battery.
For the electrolyte we use an ordinary lemon. And how does the saying go? If life gives you lemons, make batteries … or at least something along those lines.
The first step in making the battery is to cut the lemons in half. I started with two lemons to make four cells.
The second step is to push the galvanized zinc plate into one side of the moist flesh inside the lemon, making sure enough of the plate is still above the surface of the cut lemon so that you can attach a lead to it.
And then close it the zinc plate, but not touching it, push the copper coin in, again leaving enough coin protruding that you can attach a lead.. In the video, I made life difficult for myself by not making cuts into the lemon first, which would have made it easlier to insert both items.
Now attach the negative lead from a multimeter to the galvanised bracket. Attach the positive lead from the meter to the copper coin, again making sure that the clips on the leads are not touching.
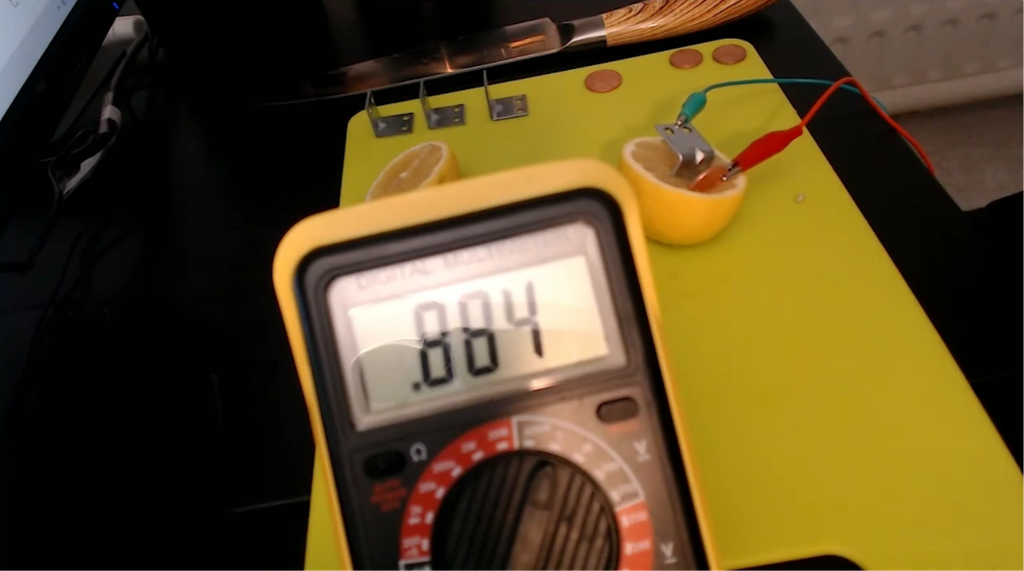
You should now register a voltage on the meter. I recorded about 0.88 volt from a single cell (half a lemon).
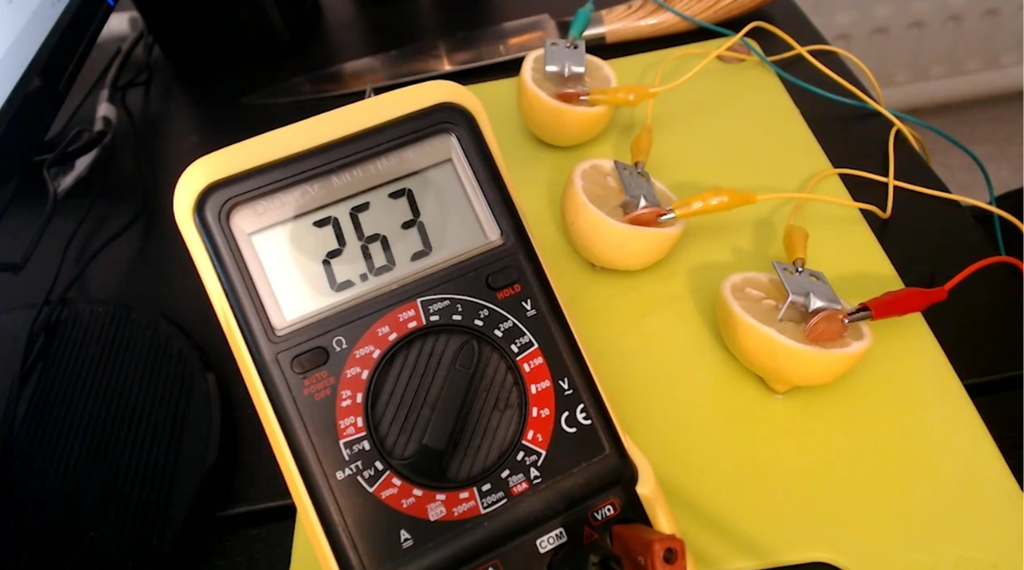
Thta’s not a huge voltage and the book recommends making a battery formed of three cells connected in series. I used additional test leads with a clip on either end to make the connections between the anode of one cell (the galvanised plate) and the cathode of another cell (the copper coin). The meter is now hooked up to either end of the battery. This time the meter recorded 2.63 volts.
The acid test, or should I say, the citric acid test, is whether this battery will be sufficient to light an LED. For this circuit, the LED can be connected direcly to the battery. It’s not necessary to use a current limiting resistor as the lemon battery cannot generate sufficient current to damage the LED.
I did manage to generate some light from the LED but it was weak and very hard to see in daylight.
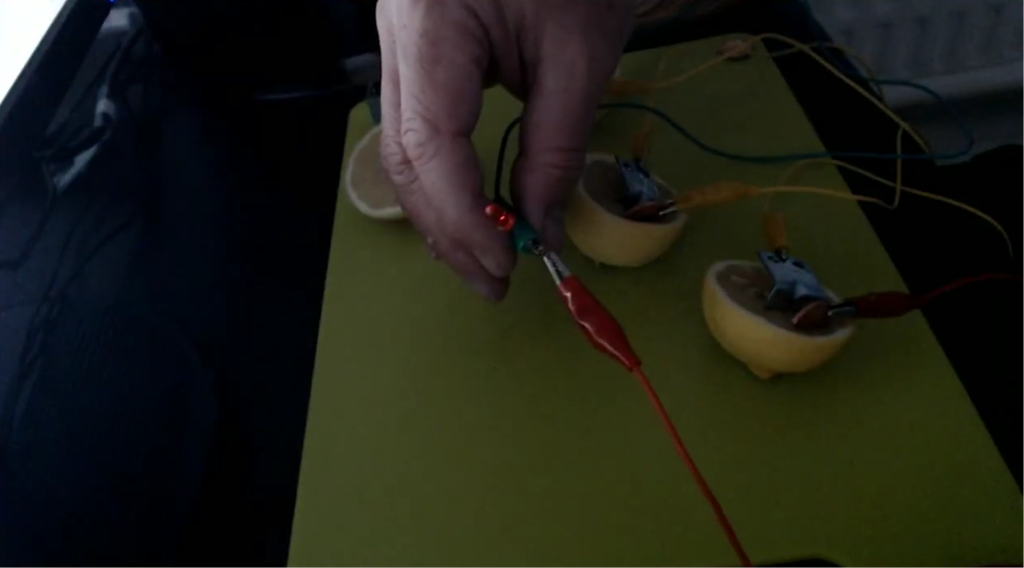
As I had one half a lemon left I decided to make a four cell battery but it didn’t make an appreciable difference to the light level.
If you hve a plastic storage box – the type that is divided into different compartments – you can use this to make a more effective homemade battery. You can use the same electrodes and clip them to the sides of the cells in the box using the test leads.
I used four compartments on one end of a storage box to create four cells in series. This time the electrolyte is lemon juice. Each cell needs to be filled enough for the lemon juice to cover the bottom of each electrode without reaching the test lead clips. I got about 3.76 volts using this method.
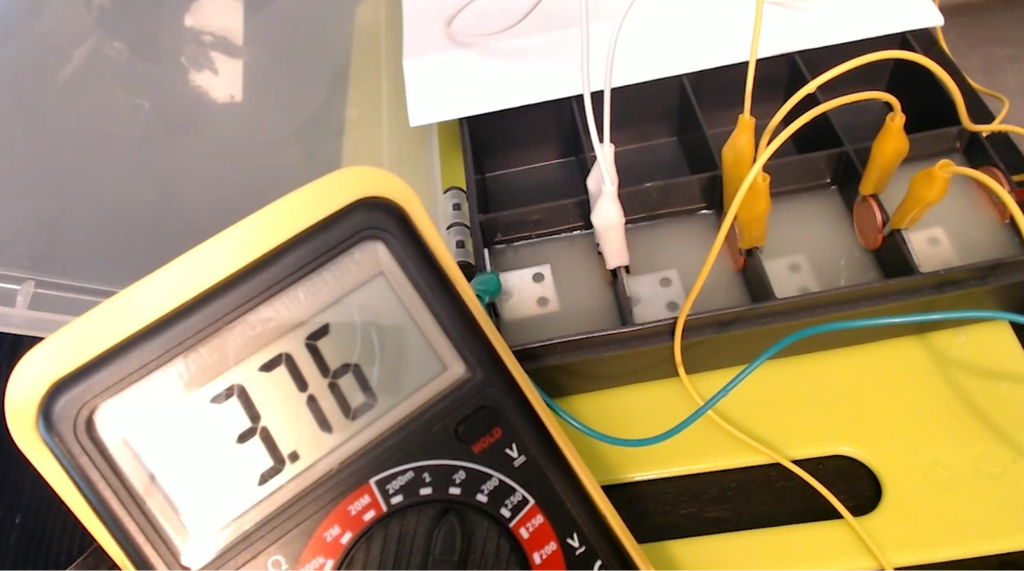
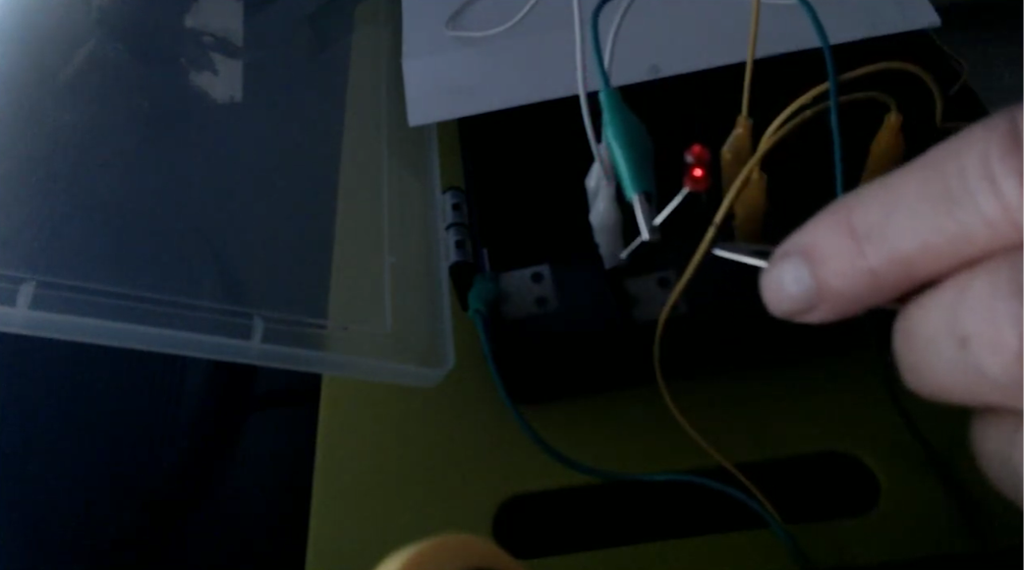
Now I tried using this battery variant to light an LED. Again, it wasn’t very strong but was definitely illuminated.
In the next post, I’ll be getting switched on to switches.
[…] Make: Electronics Book Experiment 5 – Home-made batteries […]
[…] Make: Electronics Book Experiment 5 – Home-made batteries […]